7 Tips for Traveling with Your Road Bike
Planning a cycling trip with your road bike? It's an exciting adventure, but packing and transporting your precious steed can be daunting. This article covers practical tips for safe and stress-free travel with your road bike, from choosing the right bike case to navigating airline regulations and recommending some must-have cycling travel gadgets and tools. We'll also delve into protecting your bike during transit, comparing different travel cases, and highlighting specific product recommendations with pricing and usage scenarios.

So, you're ready to take your road bike on an adventure! Whether it's a cycling tour through the Italian Alps, a race in California, or just a weekend getaway to explore new roads, traveling with your bike can be an incredibly rewarding experience. But before you start dreaming of epic climbs and breathtaking descents, you need to make sure your bike arrives safe and sound. These tips will help you navigate the often-tricky world of bike travel, ensuring your two-wheeled companion is ready to roll when you arrive.
Choosing the Right Bike Travel Case: Hard Case vs Soft Case for Road Bikes
The first crucial decision is selecting the right type of bike travel case. You have two main options: hard cases and soft cases. Each has its own advantages and disadvantages.
Hard Cases: Maximum Protection for Your Road Bike
Hard cases are generally considered the gold standard for bike protection. They offer a rigid outer shell, typically made of ABS plastic or aluminum, providing superior impact resistance. This is especially important if you're flying with your bike, as it will be subjected to rough handling. Hard cases often include internal padding and straps to secure your bike and prevent it from moving around during transit.
Pros:
- Superior Protection: The rigid shell offers the best protection against impacts and crushing.
- Durability: Hard cases are built to last and can withstand repeated travel.
- Security: Many hard cases come with locks or are compatible with padlocks.
Cons:
- Weight: Hard cases are significantly heavier than soft cases, which can lead to higher baggage fees.
- Bulk: They take up a lot of space and can be difficult to store when not in use.
- Cost: Hard cases are generally more expensive than soft cases.
Product Recommendations:
- SciCon AeroTech Evolution X TSA Bike Travel Case: This is a premium hard case known for its exceptional protection and ease of use. It features a TSA-approved lock and internal padding to keep your bike secure. Price: $900 - $1200. It is ideal for frequent flyers who value maximum protection and security.
- Thule RoundTrip Transition Bike Case: A robust and well-designed hard case with integrated wheels for easy transport. It includes a work stand for assembling your bike upon arrival. Price: $700 - $900. Great for cyclists who want a case that doubles as a bike stand.
Soft Cases: Lightweight and Convenient Bike Travel
Soft cases are made of durable fabric, often with reinforced padding. They are typically lighter and more compact than hard cases, making them easier to handle and store. Some soft cases even fold down for compact storage when not in use. However, they offer less protection than hard cases.
Pros:
- Lightweight: Soft cases are significantly lighter than hard cases, reducing baggage fees.
- Compact Storage: Many soft cases fold down for easy storage.
- Cost: Soft cases are generally more affordable than hard cases.
Cons:
- Less Protection: Soft cases offer less protection against impacts and crushing.
- Durability: They may not be as durable as hard cases and may wear out more quickly with frequent travel.
- Requires Careful Packing: You need to be extra careful when packing your bike in a soft case to ensure it's properly protected.
Product Recommendations:
- EVOC Bike Travel Bag Pro: A popular soft case known for its ample padding and internal frame support. It includes separate wheel compartments and various pockets for accessories. Price: $500 - $700. A good choice for cyclists who want a balance between weight, protection, and price.
- B&W International Foldon Box Folding Bike Case: This soft case folds down to a compact size for easy storage. It's lightweight and easy to maneuver. Price: $300 - $500. Perfect for cyclists with limited storage space.
Hard Case vs Soft Case: A Detailed Comparison Table for Road Bike Travel
To help you make the right decision, here's a detailed comparison table:
| Feature | Hard Case | Soft Case |
|---|---|---|
| Protection | Excellent | Good (requires careful packing) |
| Weight | Heavier | Lighter |
| Storage | Bulky | More Compact (some fold down) |
| Cost | More Expensive | More Affordable |
| Durability | More Durable | Less Durable |
| Security | Higher (often includes locks) | Lower |
Properly Disassembling Your Road Bike for Travel: Step-by-Step Guide
Whether you choose a hard or soft case, you'll need to disassemble your bike to fit it inside. Here's a step-by-step guide:
- Remove the Pedals: Use a pedal wrench to remove the pedals. Remember that the left pedal is reverse-threaded.
- Remove the Wheels: Deflate the tires slightly to reduce the risk of damage. Remove the wheels and store them in separate wheel bags.
- Remove the Handlebars: Loosen the stem bolts and carefully remove the handlebars. Wrap them in bubble wrap or foam padding to protect them.
- Remove the Seatpost: Mark the seatpost height with tape before removing it. Wrap the seatpost in bubble wrap or foam padding.
- Protect the Frame: Use foam tubing or bubble wrap to protect the frame tubes, especially the dropouts and derailleur hanger.
- Secure Loose Parts: Use zip ties or tape to secure any loose cables or components.
- Pack Everything Carefully: Arrange the components inside the case, ensuring that nothing can shift or rub against each other during transit.
Protecting Your Road Bike During Transit: Essential Packing Tips
Proper packing is crucial to preventing damage during transit. Here are some essential tips:
- Use Plenty of Padding: Wrap all vulnerable parts of your bike in bubble wrap, foam tubing, or old clothing.
- Protect the Derailleur Hanger: The derailleur hanger is easily bent, so protect it with a derailleur hanger protector or a piece of wood.
- Use Fork and Frame Spacers: These spacers prevent the fork and frame from being crushed if the case is compressed.
- Secure the Wheels: Use wheel bags to protect the wheels and prevent them from damaging other components.
- Distribute Weight Evenly: Distribute the weight evenly throughout the case to prevent it from being unbalanced.
- Label Your Case: Clearly label your case with your name, address, phone number, and destination.
Navigating Airline Regulations for Bike Travel: Fees and Restrictions
Airlines often have specific regulations and fees for transporting bikes. It's important to research these regulations before you travel to avoid any surprises at the airport.
- Check Baggage Fees: Most airlines charge extra for oversized and overweight baggage, and bikes often fall into this category. Check the airline's website for specific fees.
- Size and Weight Restrictions: Airlines may have size and weight restrictions for bike cases. Make sure your case complies with these restrictions.
- Advance Notice: Some airlines require advance notice if you're traveling with a bike. Contact the airline to confirm their requirements.
- Declare Your Bike: When checking in, declare that you're traveling with a bike. This may help you avoid any misunderstandings or delays.
- Consider Travel Insurance: Travel insurance can protect you against loss or damage to your bike during transit.
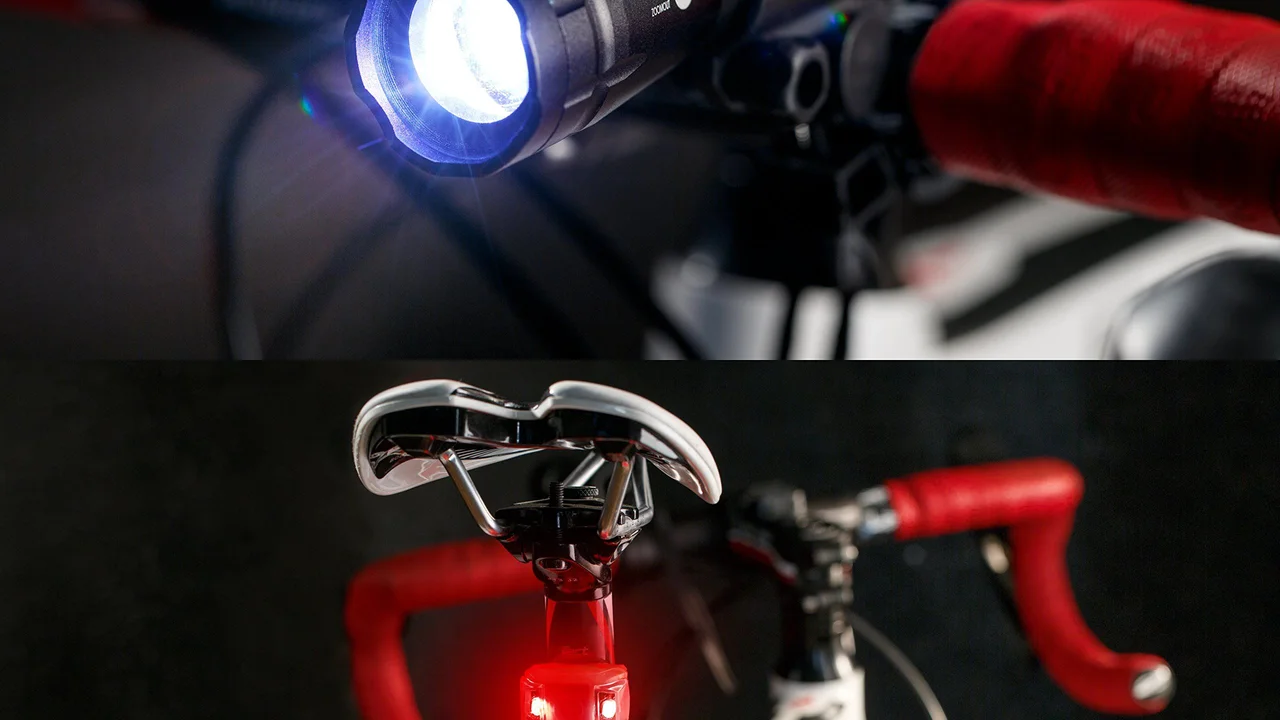
Must-Have Cycling Travel Gadgets and Tools: Enhance Your Road Bike Trip
To make your cycling trip even more enjoyable, consider bringing these essential gadgets and tools:
- Mini Bike Pump: A mini bike pump is essential for inflating your tires on the go.
- Multi-Tool: A multi-tool with various Allen wrenches, screwdrivers, and a chain tool is invaluable for making minor repairs.
- Tire Levers: Tire levers make it easier to remove and install tires.
- Spare Tubes: Always carry spare tubes in case of a flat tire.
- Patch Kit: A patch kit can be used to repair small punctures in your tubes.
- Chain Lube: Keep your chain lubricated for smooth and efficient riding.
- GPS Cycling Computer: A GPS cycling computer can track your speed, distance, and elevation, and provide navigation. The Garmin Edge 530 is a great mid-range option (Price: $300), offering excellent features and battery life. For a more budget-friendly option, consider the Wahoo Elemnt Bolt (Price: $230).
- Portable Bike Scale: While not essential, a portable bike scale can be useful for verifying your bike's weight, especially if you're concerned about airline baggage fees. The Feedback Sports Digital Scale (Price: $150) is a reliable option.
Reassembling Your Road Bike Upon Arrival: Getting Back on the Road
Once you arrive at your destination, you'll need to reassemble your bike. Here's a step-by-step guide:
- Unpack Carefully: Remove all the components from the case and lay them out in an organized manner.
- Inspect for Damage: Check all the components for any signs of damage that may have occurred during transit.
- Install the Seatpost: Reinstall the seatpost at the marked height.
- Install the Handlebars: Reinstall the handlebars and tighten the stem bolts to the correct torque.
- Install the Wheels: Reinstall the wheels and inflate the tires to the correct pressure.
- Install the Pedals: Reinstall the pedals, remembering that the left pedal is reverse-threaded.
- Check the Brakes and Shifting: Make sure the brakes and shifting are working properly.
- Go for a Test Ride: Take your bike for a short test ride to ensure everything is working correctly.
Road Bike Maintenance on the Go: Quick Fixes and Tips
Even with the best preparation, you may encounter minor mechanical issues during your cycling trip. Here are some quick fixes and tips:
- Flat Tire: Learn how to change a flat tire quickly and efficiently.
- Loose Brakes: Adjust the brake cable tension to improve braking performance.
- Slipping Chain: Adjust the derailleur limits to prevent the chain from slipping off the gears.
- Loose Bolts: Check all the bolts regularly and tighten them as needed.
- Noisy Chain: Lube the chain to reduce noise and improve shifting performance.
Traveling with your road bike can be a fantastic way to explore new places and enjoy your favorite sport. By following these tips, you can ensure a safe and stress-free travel experience.
:max_bytes(150000):strip_icc()/277019-baked-pork-chops-with-cream-of-mushroom-soup-DDMFS-beauty-4x3-BG-7505-5762b731cf30447d9cbbbbbf387beafa.jpg)