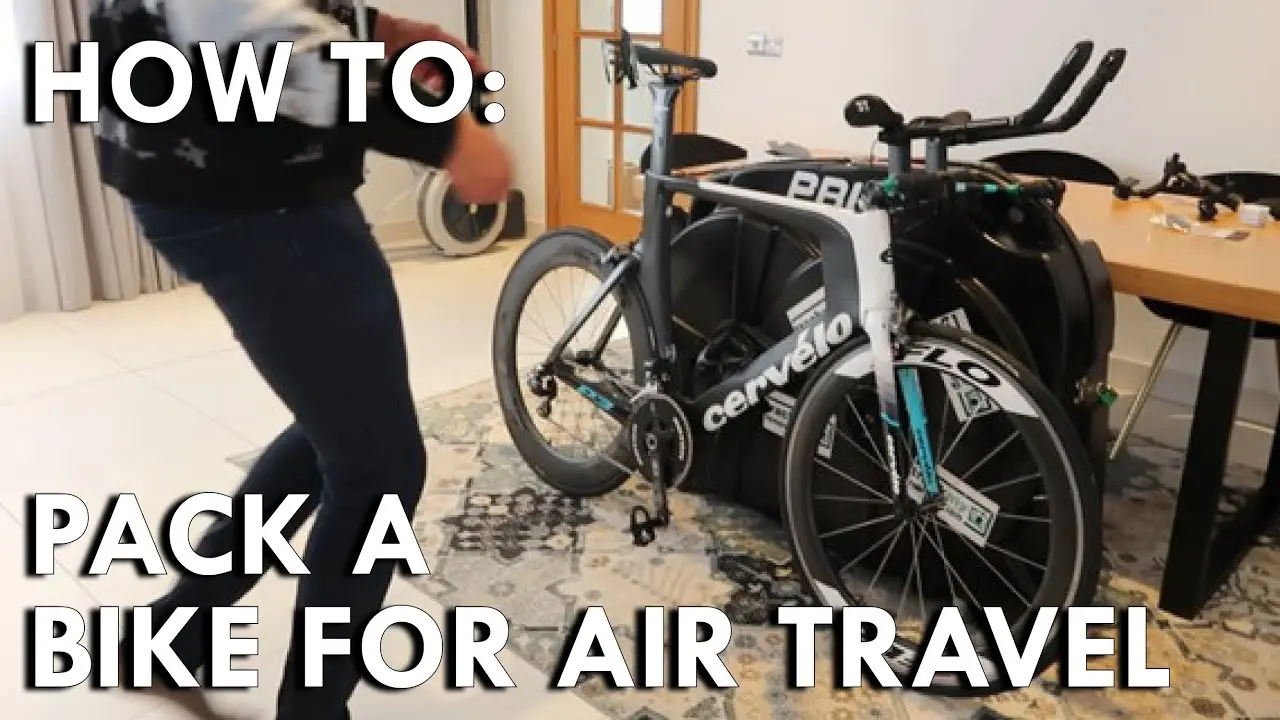
How to Pack Your Road Bike for Air Travel
Packing your road bike for air travel can seem daunting, but with the right preparation and gear, you can ensure your beloved machine arrives safely at your destination. This guide provides a comprehensive overview of how to pack your road bike, including recommended products, usage scenarios, and price comparisons, to help you choose the best solution for your needs and budget. We'll cover everything from choosing the right bike case to protecting delicate components, so you can focus on enjoying your cycling adventure.
So, you're planning a cycling trip and need to get your trusty steed on a plane? No sweat! Packing your road bike for air travel might seem intimidating, but with a little planning and the right gear, you can get it done safely and efficiently. This guide will walk you through the process, covering everything from choosing the right bike case to protecting those precious components.
Choosing the Right Bike Case: Hard Case vs Soft Case (Road Bike Travel Case Options)
The first big decision is choosing between a hard case and a soft case. Both have their pros and cons, so let's break it down:
Hard Bike Cases: The Tank of Bike Protection
Hard cases offer superior protection. They're typically made from tough plastics like ABS or polypropylene, providing a rigid shell that can withstand rough handling. Think of it like a fortress for your bike.
Pros:
- Maximum Protection: Best for protecting against impacts and crushing.
- Durability: Can withstand multiple trips and rough handling.
- Security: Often feature locking mechanisms for added security.
Cons:
- Weight: Significantly heavier than soft cases, potentially leading to higher baggage fees.
- Bulk: Can be difficult to store when not in use.
- Price: Generally more expensive than soft cases.
Recommended Hard Case: SciCon Aerotech Evolution X TSA Bike Travel Case
Usage Scenario: Ideal for frequent travelers, those transporting high-end bikes, and cyclists prioritizing maximum protection.
Price: ~$900 - $1200
Soft Bike Cases: Lightweight and Compact Road Bike Travel Solutions
Soft cases are lighter and more compact than hard cases, making them easier to maneuver and store. They typically feature padded interiors and reinforced areas to protect key components.
Pros:
- Lightweight: Reduces the risk of overweight baggage fees.
- Compact: Easier to store when not in use.
- Price: Generally more affordable than hard cases.
Cons:
- Less Protection: Offers less protection against impacts than hard cases.
- Durability: May not withstand as much abuse as hard cases.
Recommended Soft Case: EVOC Bike Travel Bag Pro
Usage Scenario: Suitable for less frequent travelers, those on a budget, and cyclists looking for a lightweight and easy-to-store option.
Price: ~$500 - $700
Hard Case vs. Soft Case: A Detailed Comparison
| Feature | Hard Case | Soft Case | |-------------------|---------------------------------------|---------------------------------------| | Protection | Maximum | Moderate | | Weight | Heavier | Lighter | | Bulk | More Bulky | More Compact | | Price | Higher | Lower | | Durability | More Durable | Less Durable | | Storage | More Difficult | Easier | | Best For | Frequent travelers, high-end bikes | Budget travelers, less frequent travel |
Essential Tools and Supplies for Packing Your Road Bike (Bike Packing Essentials)
Before you start dismantling your bike, gather these essential tools and supplies:
- Multi-tool: For removing pedals, adjusting components, and tightening bolts.
- Pedal Wrench: For removing pedals (some pedals require a specific wrench).
- Allen Key Set: For loosening and tightening bolts of various sizes.
- Torque Wrench: To ensure bolts are tightened to the correct specification (crucial for carbon fiber components).
- Packing Material: Bubble wrap, foam tubing, pipe insulation, old clothing (socks, towels, etc.).
- Tape: Packing tape to secure padding and components.
- Zip Ties: For securing cables and other loose parts.
- Derailleur Hanger Alignment Tool (Optional): To check and align your derailleur hanger after travel.
- Bike Stand (Optional): Makes the packing process easier and more stable.
Step-by-Step Guide to Packing Your Road Bike for Air Travel (Bike Packing Instructions)
Now, let's get down to the nitty-gritty. Follow these steps to pack your road bike safely:
Step 1: Preparation is Key Before Packing Your Bike
Clean your bike thoroughly. This will prevent dirt and grime from transferring to your packing materials and potentially damaging components. Inspect your bike for any existing damage. Take photos of your bike before packing – this can be helpful if you need to file a claim for damage during transit. Deflate your tires slightly. This helps prevent them from bursting due to pressure changes during air travel.
Step 2: Removing the Pedals (Road Bike Pedal Removal)
Use your pedal wrench or Allen key to remove the pedals. Remember that the left pedal has a reverse thread! Wrap the pedals in bubble wrap or foam tubing and secure them with tape. Place them in a separate bag or compartment within the bike case.
Step 3: Lowering or Removing the Seatpost (Adjusting Bike Seat for Travel)
Lower your seatpost as far as it will go. If necessary, remove it completely. Mark the seatpost height with tape before removing it so you can easily restore it to the correct position after travel. Wrap the seatpost in bubble wrap or foam tubing and secure it with tape. Place it in a separate bag or compartment within the bike case.
Step 4: Removing the Handlebars (Road Bike Handlebar Removal)
Loosen the stem bolts and carefully remove the handlebars. If you have integrated cables, be extra cautious not to kink or damage them. You can either secure the handlebars to the frame with zip ties or wrap them in bubble wrap and place them in a separate bag or compartment.
Step 5: Removing the Wheels (Road Bike Wheel Removal)
Remove the wheels from the frame. Deflate the tires slightly. Use hub protectors to protect the hubs from damage. Place the wheels in separate wheel bags. If your bike case doesn't have dedicated wheel compartments, wrap the wheels in bubble wrap and secure them to the frame.
Step 6: Protecting the Frame (Protecting Bike Frame During Travel)
This is arguably the most important step. Use foam tubing or pipe insulation to protect the frame tubes, especially the top tube, down tube, and seat stays. Secure the padding with tape. Pay extra attention to areas that are likely to come into contact with other components or the inside of the bike case. Use bubble wrap to protect delicate areas like the dropouts and bottom bracket.
Step 7: Securing the Derailleurs (Protecting Bike Derailleurs During Travel)
The derailleurs are vulnerable to damage during travel. Remove the rear derailleur (if you're comfortable doing so) and wrap it in bubble wrap. Secure it to the frame with zip ties. If you don't want to remove the derailleur, make sure it's well-padded and protected. Use a derailleur hanger alignment tool after travel to ensure it's properly aligned.
Step 8: Packing Everything into the Bike Case (Organizing Bike Parts in Travel Case)
Carefully place the frame, wheels, and other components into the bike case. Make sure everything is securely packed and there's no room for movement. Use additional padding to fill any empty spaces. Double-check that all delicate components are well-protected.
Step 9: Closing and Securing the Bike Case (Securing Bike Case for Air Travel)
Close the bike case and make sure all latches are securely fastened. If your bike case has a locking mechanism, use it. Attach a luggage tag with your name, address, and phone number to the bike case.
Recommended Products for Protecting Your Bike During Travel (Bike Protection Products)
Here are a few specific products that can help protect your bike during travel:
- Hub Protectors: Protect your hub axles from damage. Brands like DT Swiss and Hope offer high-quality hub protectors. Price: ~$20 - $40 per set.
- Fork Spacers: Prevent the fork legs from being crushed. Many bike case manufacturers include fork spacers. Price: ~$10 - $20.
- Derailleur Hanger Protector: A small device that protects your derailleur hanger from bending. Price: ~$10 - $20.
- Crank Arm Protectors: Protect your crank arms from scratches and scuffs. Price: ~$15 - $30 per set.
Airline Baggage Fees and Regulations for Bikes (Airline Bike Fees and Policies)
Be aware of airline baggage fees and regulations for bikes. These fees can vary significantly depending on the airline, destination, and class of service. Check the airline's website for specific information. Some airlines charge a flat fee for bikes, while others treat them as oversized baggage. Weigh your bike case before heading to the airport to avoid overweight baggage fees. Consider purchasing travel insurance that covers bike damage or loss.
Tips for Avoiding Bike Damage During Air Travel (Preventing Bike Damage in Transit)
Here are a few extra tips to help you avoid bike damage during air travel:
- Use Fragile Stickers: Affix fragile stickers to your bike case. While this doesn't guarantee careful handling, it can't hurt.
- Arrive Early: Give yourself plenty of time at the airport to check in your bike. This will reduce stress and allow you to handle any issues that may arise.
- Inspect Your Bike Upon Arrival: As soon as you receive your bike, inspect it for any damage. If you find any damage, report it to the airline immediately.
- Take Photos of the Damage: Document any damage with photos. This will be helpful when filing a claim with the airline or your insurance company.
Alternatives to Packing Your Bike: Bike Shipping Services (Bike Shipping Options)
If you're not comfortable packing your bike yourself, or you want to avoid airline baggage fees, consider using a bike shipping service. Services like ShipBikes.com and BikeFlights.com specialize in shipping bikes safely and efficiently. They offer door-to-door service and can handle all the packing and logistics for you.
Pros:
- Convenience: Door-to-door service.
- Expert Packing: Professionals handle the packing and shipping.
- Insurance: Typically includes insurance coverage.
Cons:
- Cost: More expensive than packing your bike yourself.
- Lead Time: Requires advance planning.
Unpacking and Reassembling Your Road Bike After Air Travel (Bike Reassembly Guide)
Once you arrive at your destination, carefully unpack your bike and reassemble it. Follow these steps:
- Inspect for Damage: Before you start reassembling your bike, carefully inspect it for any damage that may have occurred during transit.
- Reinstall the Wheels: Reinstall the wheels and inflate the tires to the correct pressure.
- Reinstall the Handlebars: Reinstall the handlebars and tighten the stem bolts to the correct torque specification.
- Reinstall the Seatpost: Reinstall the seatpost to the correct height.
- Reinstall the Pedals: Reinstall the pedals. Remember that the left pedal has a reverse thread!
- Check the Derailleurs: Check the derailleurs and make sure they are properly aligned. Use a derailleur hanger alignment tool if necessary.
- Adjust the Brakes: Adjust the brakes to ensure they are functioning properly.
- Test Ride: Take your bike for a short test ride to make sure everything is working correctly.
Packing your road bike for air travel doesn't have to be a stressful experience. By following these tips and using the right gear, you can ensure your bike arrives safely at your destination and you can focus on enjoying your cycling adventure. Happy riding!
:max_bytes(150000):strip_icc()/277019-baked-pork-chops-with-cream-of-mushroom-soup-DDMFS-beauty-4x3-BG-7505-5762b731cf30447d9cbbbbbf387beafa.jpg)